
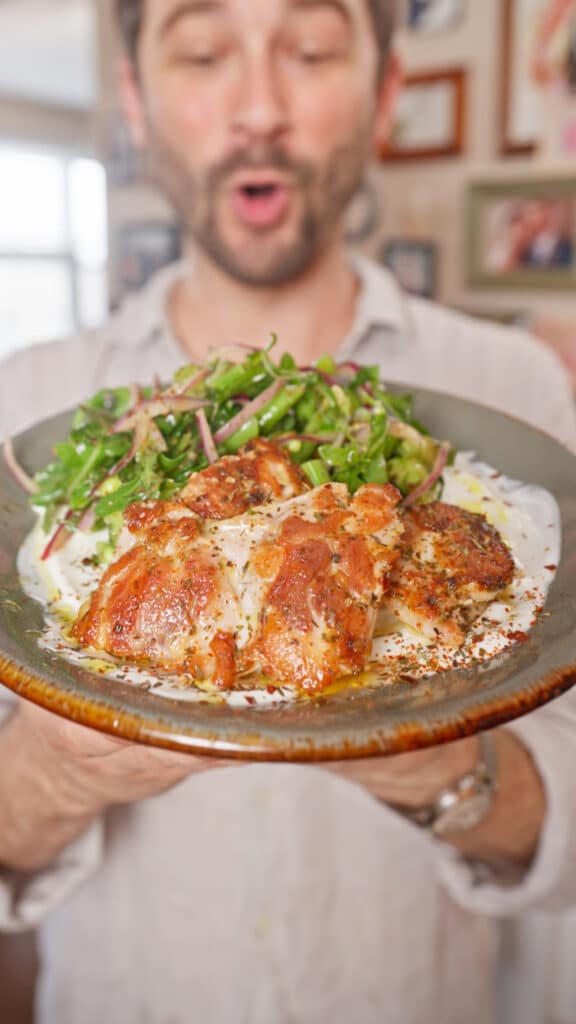
2 Easy Chicken Marinades for Juicy Stovetop Chicken Thighs
This guide will give you two easy chicken marinade options — a bright herby lemon marinade and a paprika-forward version — both designed for juicy stovetop chicken thighs with deep browning and lots of flavor. They’re quick to make, easy to master, and built on a simple technique you can use again and again. Serve them as the centerpiece of dinner or slice them up for meal prep lunches.
This is the kind of chicken recipe that earns a permanent spot in your cooking rotation. A simple, flavorful marinade gives the thighs a savory, layered flavor, while a quick pan-fry creates rich browning and juicy meat. It’s low-lift, high-reward, and built from ingredients you may already have in the pantry.
What makes it especially useful is how many ways you can turn it into dinner. Serve these marinated chicken thighs with a crisp salad, spoon them over rice or grains, tuck them into pita, or slice them up for lunches throughout the week. It’s a great base recipe to keep on hand when you want something dependable, flavorful, and easy to build into a more complete meal.
Disclosure: This post may contain affiliate links that provide us with a small commission when used for purchase. We’re grateful for your support!
Why These Pan-Fried Chicken Thighs Work
Two distinct flavor profiles
Most quick chicken marinades stick to one flavor direction, but this recipe gives you two completely different options built on the same reliable stovetop method.
The herb marinade is bright, savory, and layered with thyme, mint, parsley, and oregano for a fresh, Mediterranean-inspired flavor. The paprika marinade leans smokier and deeper, with warm spices like paprika, cumin, and garlic powder that pair especially well with creamy sauces, roasted vegetables, and rice bowls. Both marinades are easy to make, pantry-friendly, and designed to create flavorful chicken with minimal effort.
One reliable stovetop method
Pan-seared chicken can feel a little intimidating. A lot of people worry it’ll dry out, stick to the pan, or end up somewhere between pale and overcooked. But this recipe is built to take that stress out of the equation. If you follow the steps and tips here — a hot skillet, good surface contact, and proper rest — you’ll get chicken that’s juicy in the center, golden on the outside, and far less fussy than it seems.
Ingredient Notes
Boneless, Skinless Chicken Thighs
Chicken thighs are the ideal choice because they stay juicy, brown beautifully, and are much more forgiving than chicken breasts. They’re especially great for high-heat cooking, since they can take on a deep sear without drying out as quickly. That said, you can absolutely use chicken breast if that’s what you prefer.
Tamari
Tamari adds savoriness and saltiness to the marinade. You can also use soy sauce if that’s what you have, but tamari has a slightly richer flavor and is a good gluten-free option if needed.
Lemon Juice
Lemon juice brightens the marinade and cuts through its richness.
Dried Herbs (For Herby Marinade)
A mix of dried thyme, mint, parsley, and oregano is what makes this chicken herby and pantry-friendly. If you don’t have dried mint or parsley, swap in dried basil or use a little extra oregano instead. For a quicker shortcut, you can replace the dried thyme, mint, parsley, and oregano with 1½ tablespoons Italian seasoning or Herbs de Provence.
Spice Blend (For Paprika Marinade)
A mix of paprika, garlic powder, and cumin gives this marinade a deeper, more savory flavor profile. The paprika brings warmth, while cumin adds an earthy backbone. If you prefer a spicier marinade, add a pinch of crushed red pepper flakes or cayenne. Use smoked paprika if you want a smokier, more developed flavor.
Step-by-Step Instructions
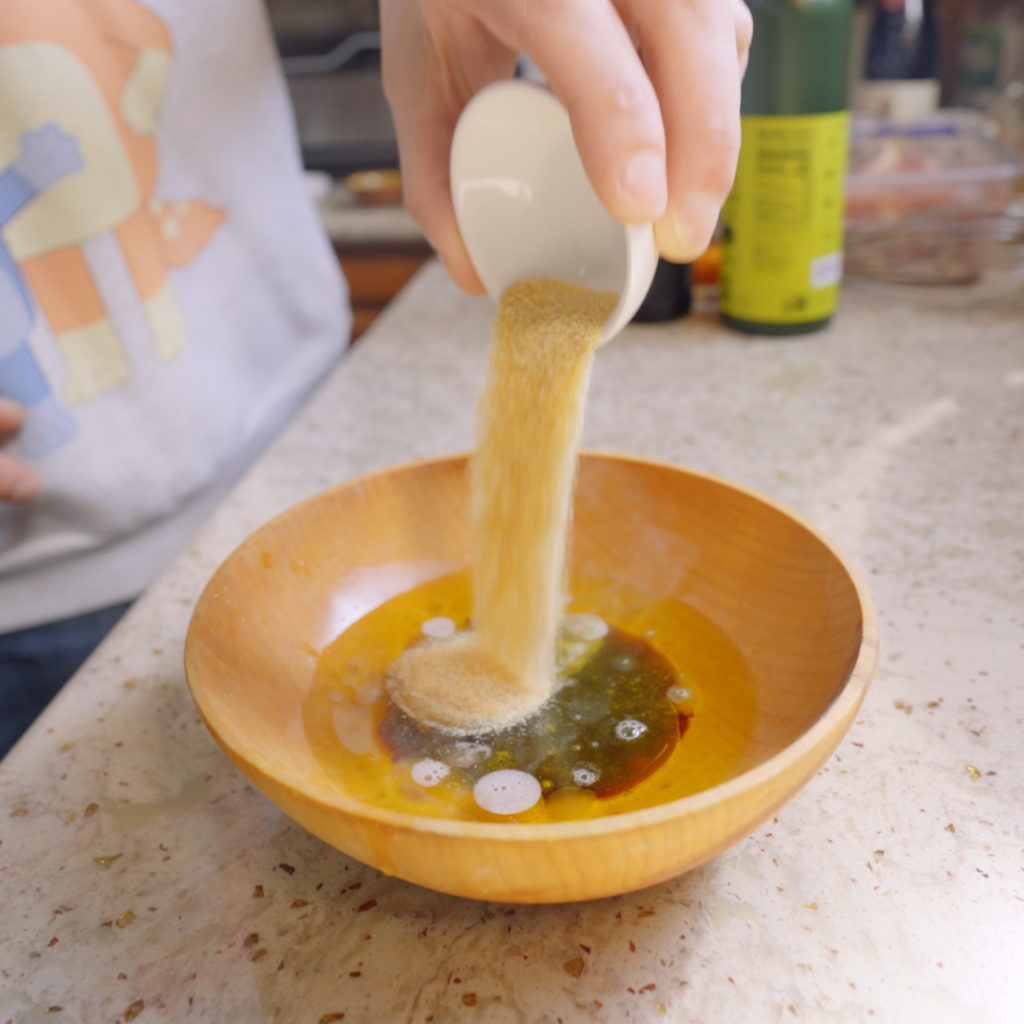
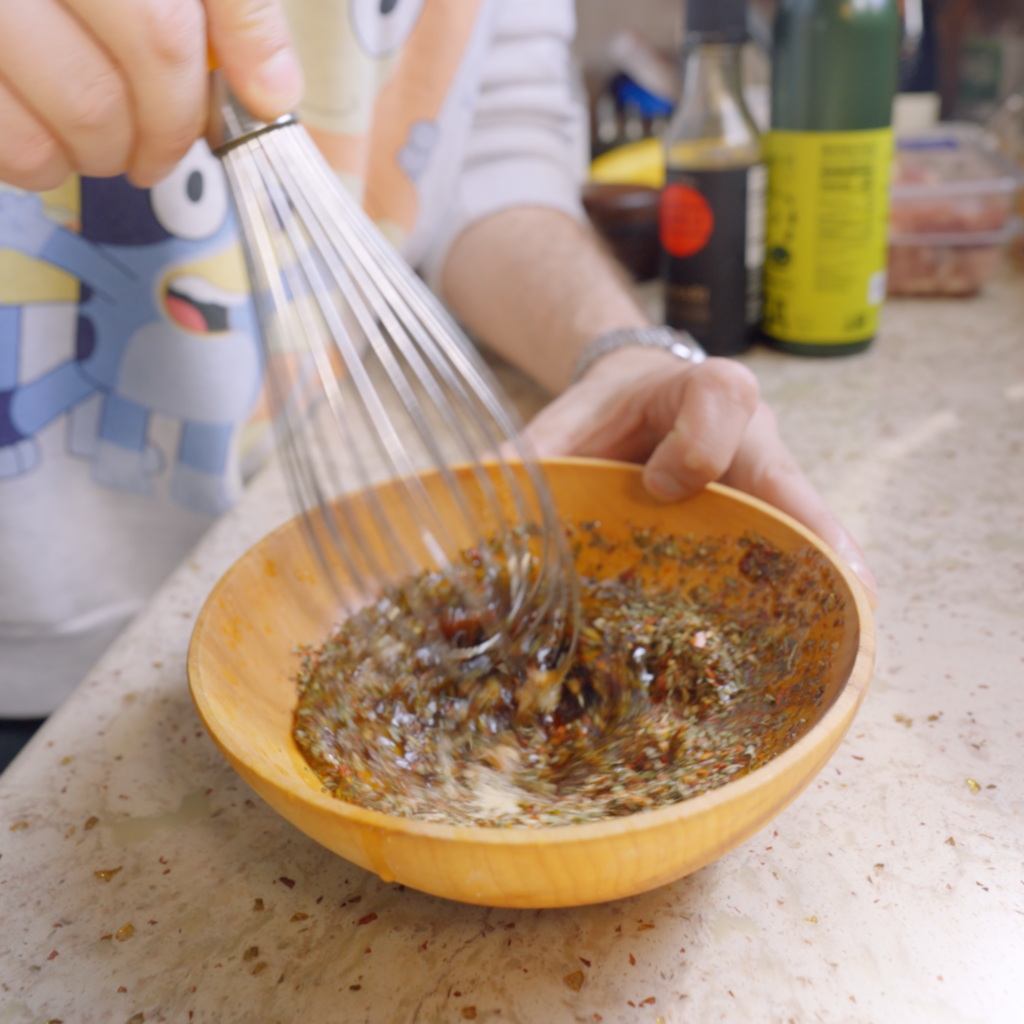
1. Whisk together the olive oil, tamari, lemon juice, and other marinade mix-ins.
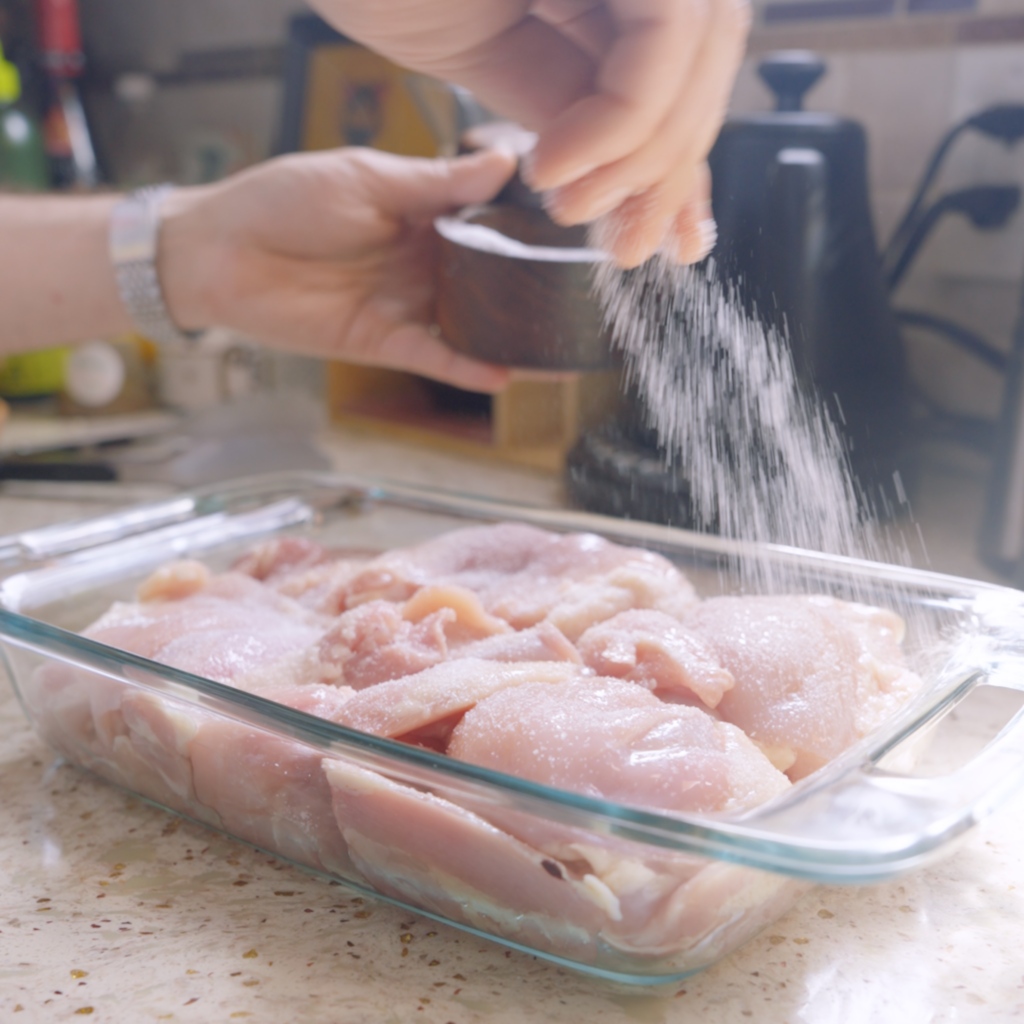
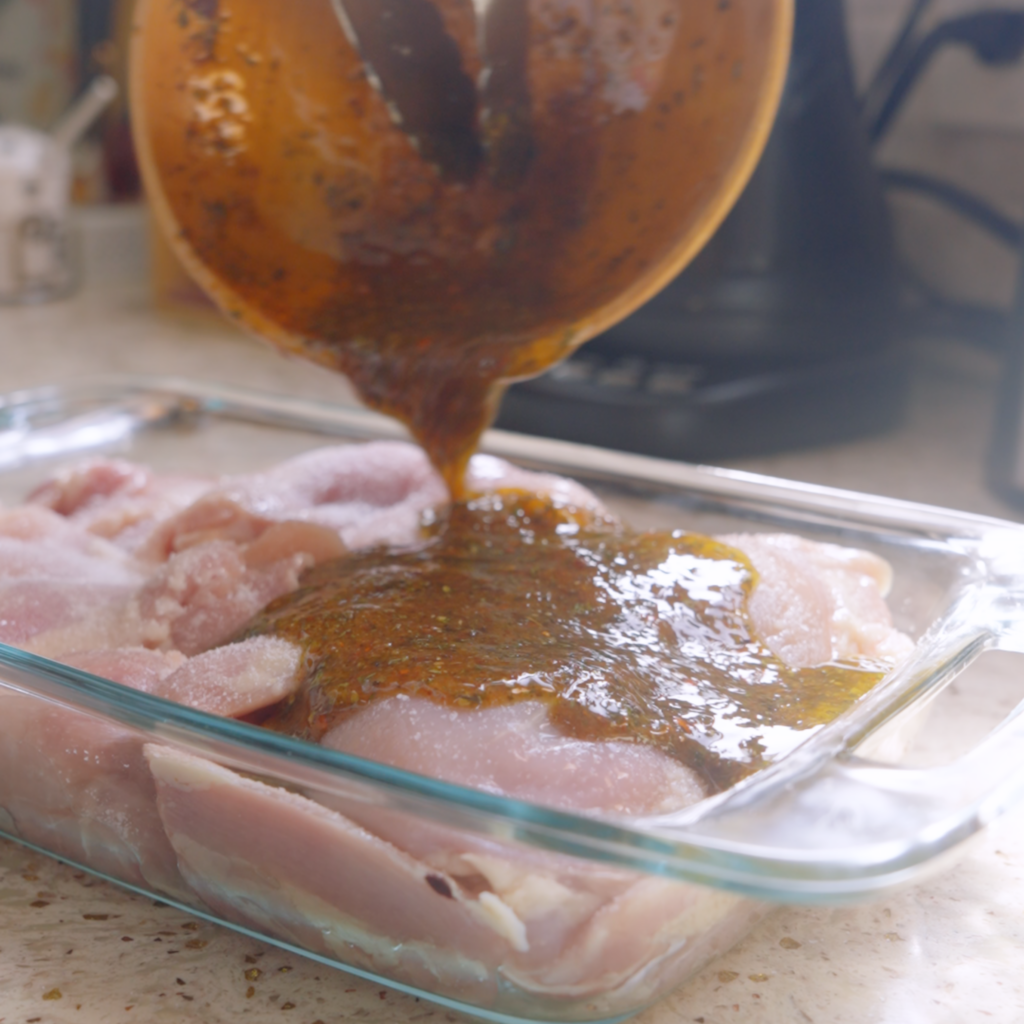
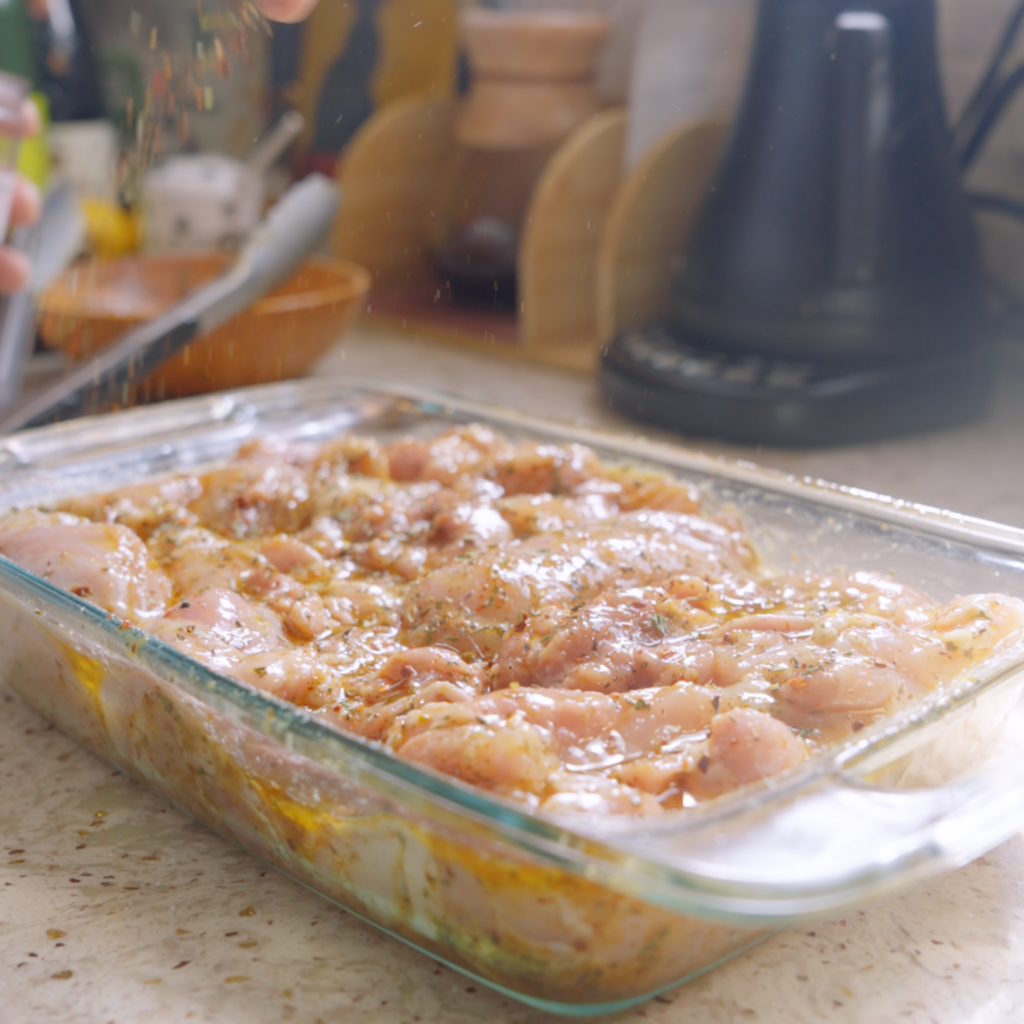
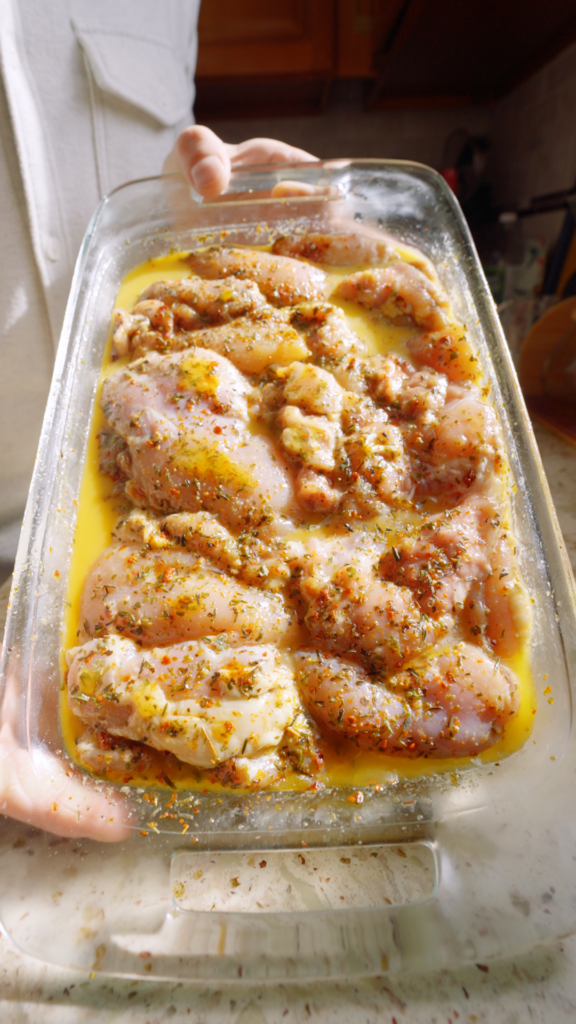
2. Pat the chicken dry, season with salt, coat in the marinade, and refrigerate for at least 15 to 30 minutes.
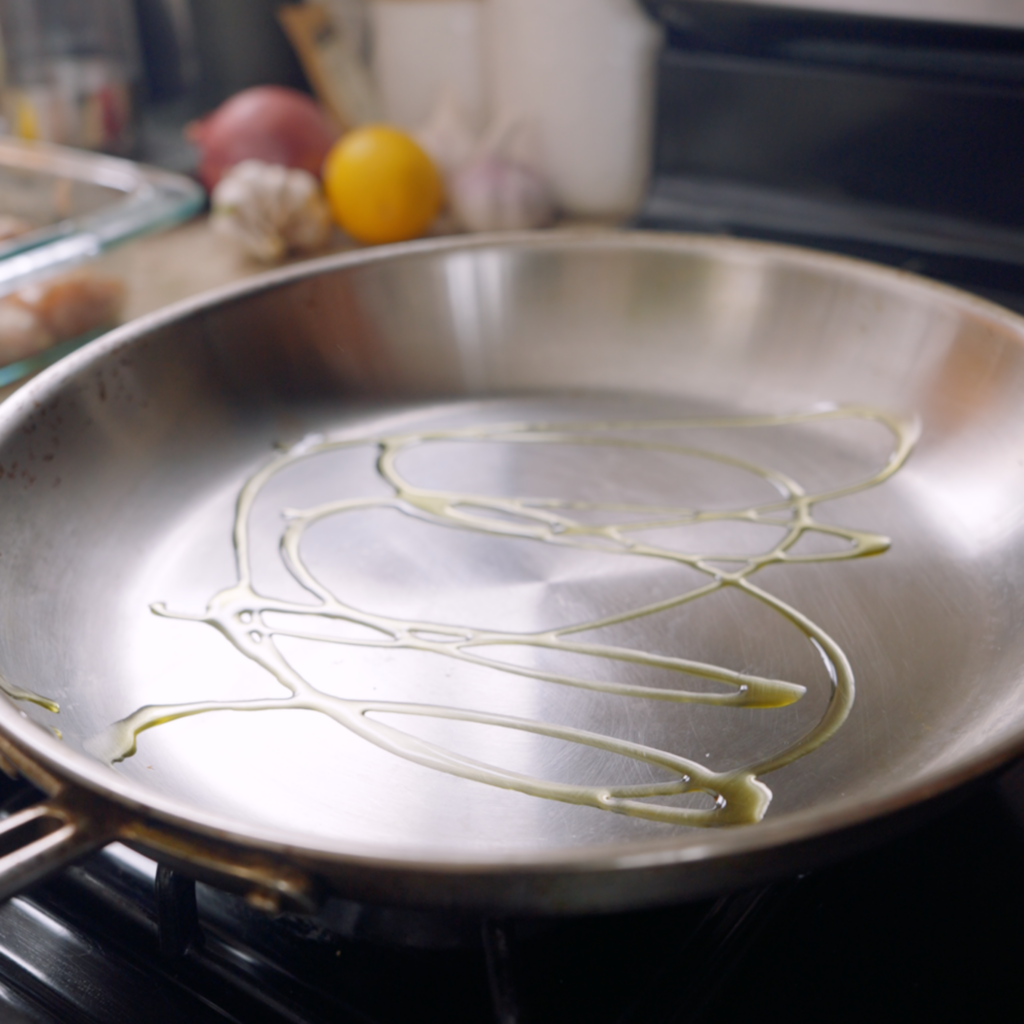
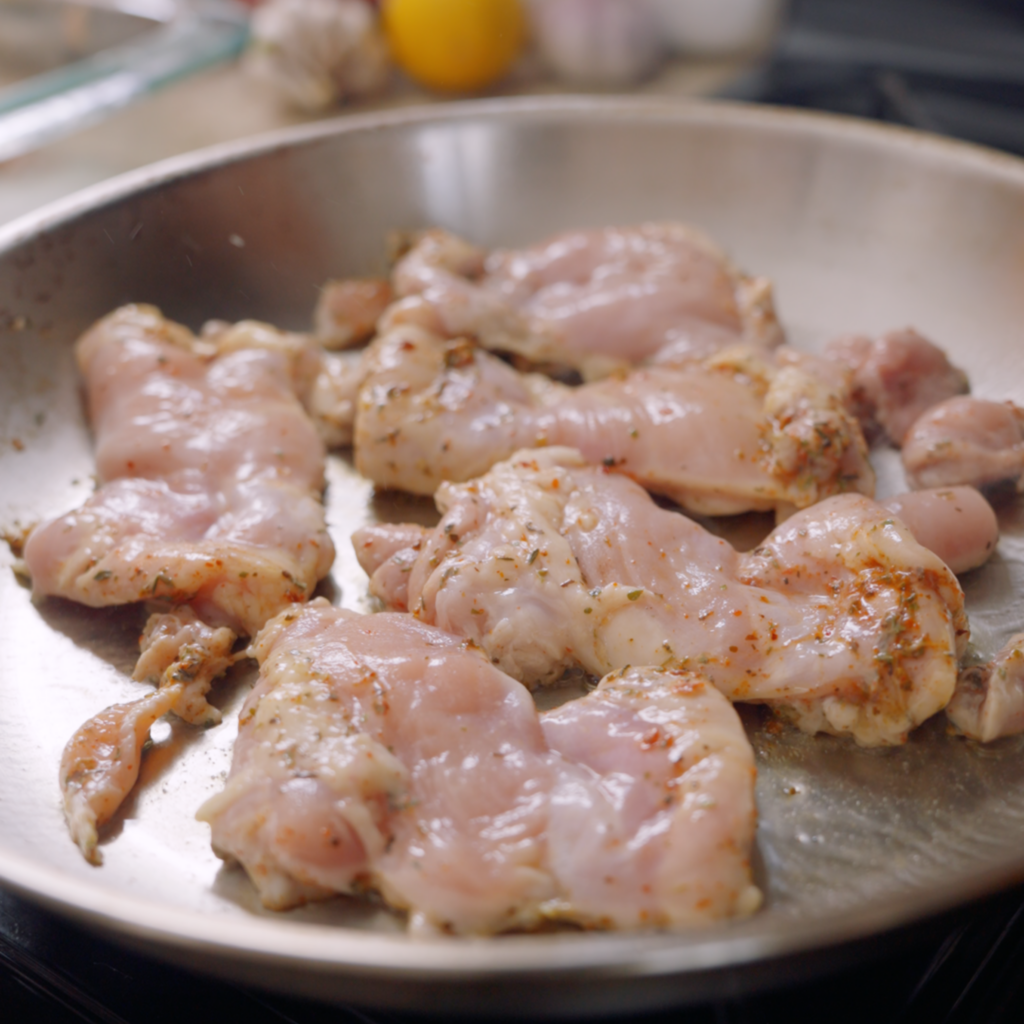
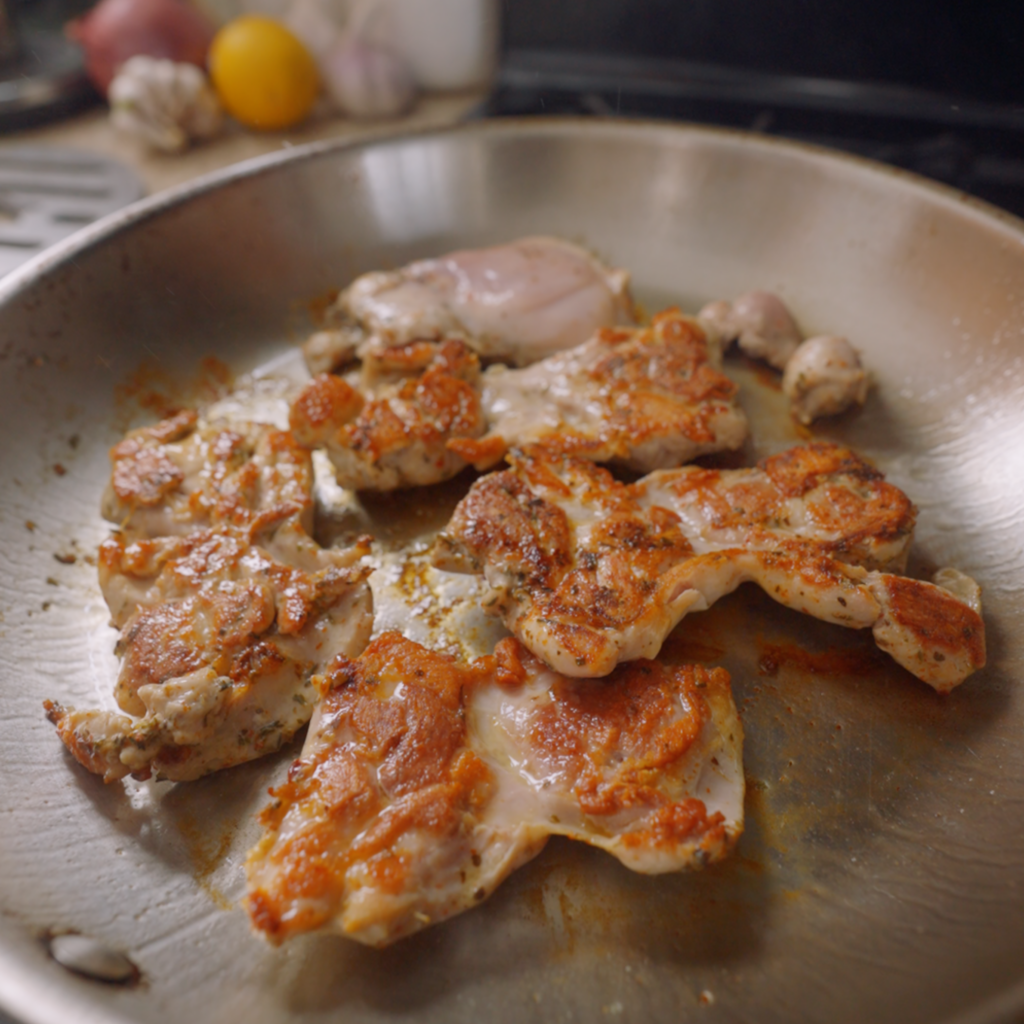
3. Preheat a large skillet over high heat until very hot. Add a drizzle of olive oil, then cook the chicken in a single layer until deeply browned on both sides.
Tips for Juicy Pan-Fried Boneless Chicken Thighs
Pat the chicken dry before marinating
Even though the chicken will get marinated, you still want to pat it dry with paper towels. Starting with a drier surface helps the salt and marinade cling better and gives the chicken a better chance of browning once it hits the pan. If the chicken is too wet and slimy from the start, it can dilute the marinade and make searing harder.
Longer marinating time = deeper flavor
Whether you’re working with a quick 30-minute marinade or planning ahead for overnight, here’s what to expect from each option:
- 15–30 minutes: Great for busy nights. The flavor stays mostly on the surface.
- 2–3 hours: The sweet spot. The marinade has more time to work into the chicken, giving you better flavor throughout.
- 8–10 hours: Best for the deepest flavor and the juiciest texture.
Short on time but still want maximum flavor? Prick the chicken all over with a fork before marinating. This helps the marinade seep in faster, so the chicken gets more flavorful without needing an overnight rest.
Use a hot skillet and a chef’s press
For beautifully browned chicken, you need two things: high heat and good pan contact.
A hot skillet helps the chicken develop a deep golden crust instead of steaming, and it also reduces sticking. A Chef’s Press (I use this one) helps the thighs stay in full contact with the pan for more even browning. If you don’t have one, a smaller cast-iron skillet or a small heat-safe pot filled with water works too. The goal is to gently weigh the chicken down so it sears evenly and stays juicy.
Know when chicken thighs are cooked
Boneless, skinless chicken thighs are forgiving and stay juicy more easily than chicken breasts, but they still benefit from a little attention.
- Best method: Use an instant-read thermometer and pull the chicken when the thickest part reaches about 160 to 162°F. As it rests, the temperature will continue rising to 165°F.
- Timer method: Most thighs will take about 5 minutes on the first side and 3 to 4 minutes on the second, depending on size and pan heat.
- Visual cue: The outside should look deeply browned, and the inside should be opaque with no raw-looking pink in the thickest part.
- Touch test: Fully cooked thighs should feel springy and slightly firm, but not stiff.
Let the chicken rest before slicing (don’t skip this!)
Once the chicken comes out of the pan, let it rest for 5 to 10 minutes before slicing or serving. This gives the juices time to redistribute through the meat instead of running out onto the plate, which means juicier chicken in the end. Slice too early, and all that moisture ends up on the cutting board instead of staying inside the chicken.
Frequently Asked Questions
Yes. For the best browning, sear the chicken in a hot skillet first. After flipping, transfer the skillet to a 425°F oven and cook until the thickest part reaches just shy of 165°F, about 5 to 8 minutes. This gives you better color than starting the chicken in the oven raw.
Yes. Chicken breasts can work, but they may need a little more or less time depending on their size and thickness. Since they’re leaner than thighs, they can dry out more easily, so cook until the thickest part reaches just shy of 165°F. For more even browning, pound the breast with a meat mallet or rolling pin.
Shred or chop them and use them in salads, grain bowls, wraps, sandwiches, or tucked into pita with yogurt sauce and herbs.
How to Serve Herb Marinated Chicken Thighs
- Blanched Snap Pea Salad
- Herby Chicken Bowl with the Works!
- Spoon them over rice or grains
- Tuck them into pita with a yogurt sauce
- Between two slices of bread for a sandwich (like this one!)
Easy Herb-Marinated Chicken Thighs
Ingredients
Equipment
Method
- Make the marinade. In a medium bowl or glass measuring cup, whisk together the olive oil, tamari, lemon juice, Aleppo pepper, thyme, mint, parsley, oregano, and black pepper until combined.
- Season and marinate the chicken. Pat the chicken thighs dry, then season them on both sides with 1½ to 2 teaspoons kosher salt. Transfer to a large baking dish or zip-top bag, pour over the marinade, and toss until every piece is well coated. Refrigerate for at least 15 to 30 minutes, or up to 10 hours if you want more flavor. (See Note 3)
- Preheat the pan. When you’re ready to cook, heat a large stainless steel skillet over high heat until it’s hot when you hover your hand over the skillet. If your pan tends to stick, add a small drizzle of high-heat cooking oil; otherwise, the oil in the marinade will be enough.
- Sear the chicken in batches. Lift the chicken from the marinade, letting any excess drip off, and arrange the thighs in the skillet in a single layer. Do not crowd the pan; with this quantity, you will likely need to work in batches. If using a Chef’s Press (See Note 4), place it on top of the chicken to encourage even contact and better browning. I sometimes have to use two chef presses to cover all the chicken! If you only have one, then start with a smaller batch.
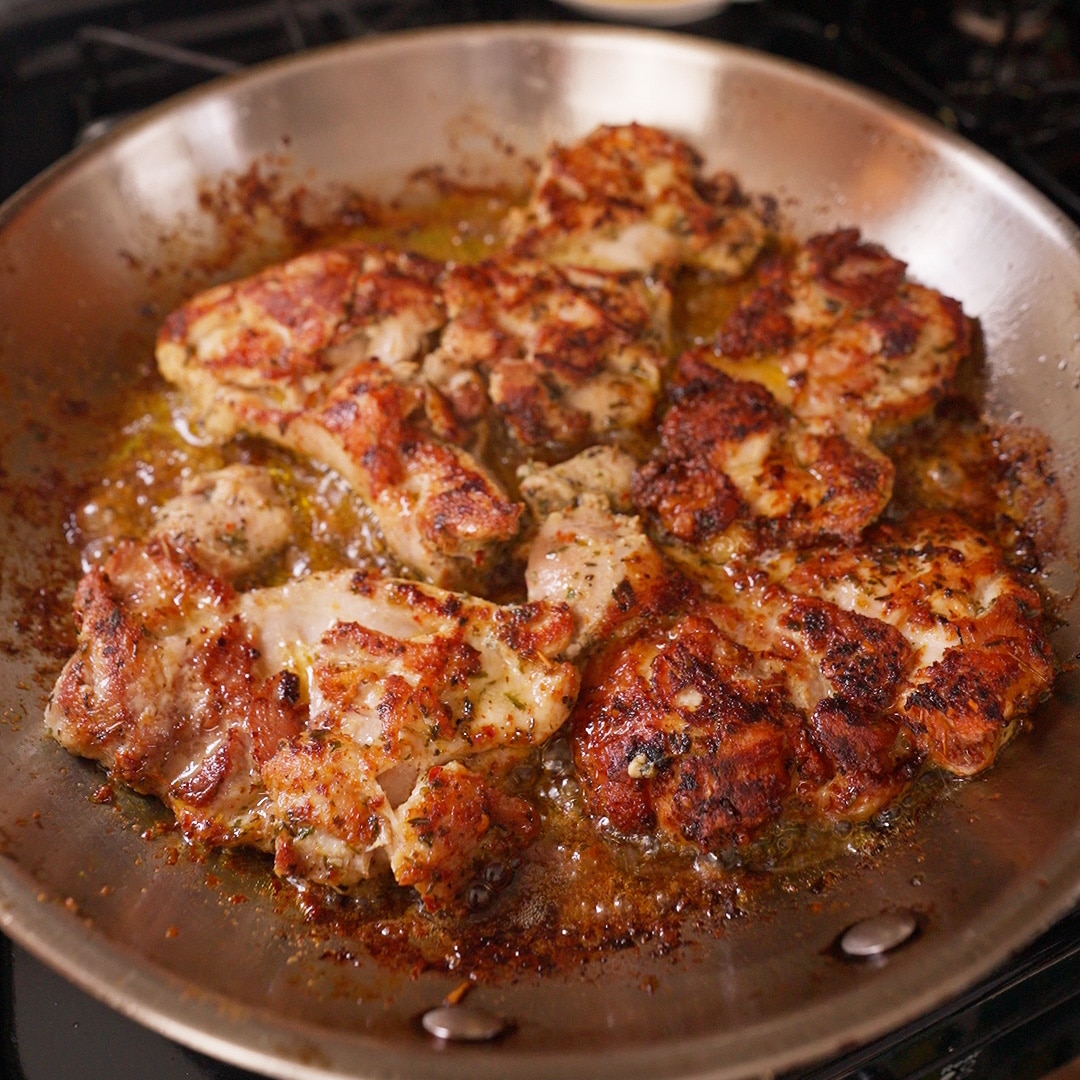
- Check for doneness. Cook the first side for about 3 to 5 minutes, until the chicken is deeply browned and releases easily from the pan. Flip and cook for another 3 to 4 minutes, until the second side is browned and the chicken is cooked through. The thickest part should register just shy of 165°F when inserted with an instant-read thermometer (See Note 5). You can also press the chicken with your finger. It should feel firm and springy, not soft.
- Make a quick pan sauce (optional). Reduce the heat to medium-low. Add a splash of white wine to the skillet and scrape up the browned bits from the bottom of the pan. Add the chicken stock and butter, then whisk vigorously for 2 to 3 minutes, until the sauce is glossy and lightly thickened. Taste and season with salt and black pepper as needed.
- Rest and serve. Transfer the cooked chicken to a platter or cutting board and let it rest for 5 to 10 minutes before serving or slicing. That short rest finishes cooking the chicken and helps the juices settle back into the meat, so it stays tender.
Nutrition
Video
Notes
- Aleppo pepper has milder heat than crushed red pepper flakes. If using the latter, use ¼ teaspoon for mild heat or more for a noticeable spiciness.
- If you don’t have dried mint or parsley, you can replace either one with dried basil, or simply add extra dried oregano. For a quicker shortcut, you can replace all of the dried herbs with 1½ tablespoons Italian seasoning or Herbs de Provence.
- Didn’t plan ahead for a long marinade? Prick the chicken all over with a fork before marinating. It helps the marinade seep inside the chicken, so it absorbs flavor faster.
- If you don’t have a Chef’s Press, use a cast-iron skillet that fits neatly inside your pan or heat-safe pot filled with water to gently weigh the chicken down.
- Chicken is safe to eat at 165°F. I like to pull it from the pan when it’s a few degrees below that, since the residual heat during resting usually carries it the rest of the way and keeps the meat juicier.
Tried this recipe?
Let us know how it was!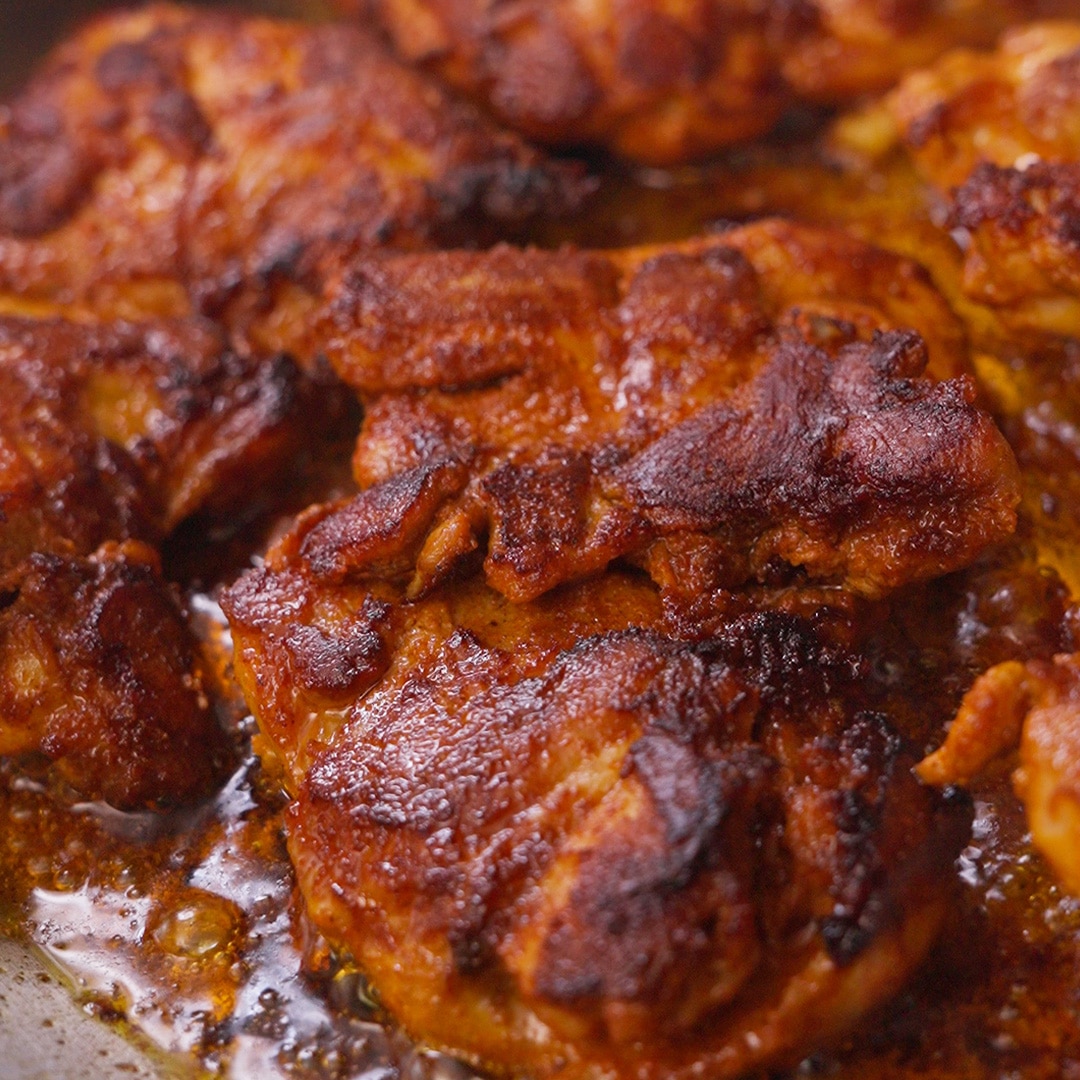
Paprika-Marinated Chicken Thighs
Ingredients
Equipment
Method
- Make the marinade. In a medium bowl or glass measuring cup, whisk together the olive oil, tamari, lemon juice, paprika, cumin, garlic powder, and black pepper until smooth and brick-red.
- Season and marinate the chicken. Pat the chicken thighs dry, then season them on both sides with 1 ½ teaspoons kosher salt. Transfer the chicken to a baking dish or zip-top bag, pour the marinade over top, and toss until every piece is thoroughly coated. Refrigerate for at least 30 minutes, or up to 10 hours for deeper flavor. If you’re short on time, even a quick marinade will still give you a bold, smoky-sweet crust. (See Note 2)
- Preheat the pan. When you’re ready to cook, heat a large stainless steel skillet over high heat until it’s hot when you hover your hand over the skillet. If your pan tends to stick, add a small drizzle of high-heat cooking oil; otherwise, the oil in the marinade will be enough.
- Sear the chicken in batches. Lift the chicken from the marinade, letting any excess drip off, and arrange the thighs in the skillet in a single layer. Do not crowd the pan; with this quantity, you will likely need to work in batches. If using a Chef’s Press (See Note 3), place it on top of the chicken to encourage even contact and better browning. I sometimes have to use two chef presses to cover all the chicken! If you only have one, then start with a smaller batch.
- Check for doneness. Cook the first side for about 3 to 5 minutes, until the chicken is deeply browned and releases easily from the pan. Flip and cook for another 3 to 4 minutes, until the second side is browned and the chicken is cooked through. The thickest part should register just shy of 165°F when inserted with an instant-read thermometer (See Note 4). You can also press the chicken with your finger. It should feel firm and springy, not soft.
- Make a quick pan sauce (optional). Reduce the heat to medium-low. Add a splash of white wine to the skillet and scrape up the browned bits from the bottom of the pan. Add the chicken stock and butter, then whisk vigorously for 2 to 3 minutes, until the sauce looks glossy and slightly thickened. Taste and season with salt and black pepper as needed.
- Rest and serve. Transfer the cooked chicken to a platter or cutting board and let it rest for 5 to 10 minutes before serving or slicing. That short rest finishes cooking the chicken and helps the juices settle back into the meat, so it stays tender.
Nutrition
Video
Notes
- You can also use smoked paprika.
- Didn’t plan ahead for a long marinade? Prick the chicken all over with a fork before marinating. It helps the marinade seep inside the chicken, so it absorbs flavor faster.
- If you don’t have a Chef’s Press, use a cast-iron skillet that fits neatly inside your pan or heat-safe pot filled with water to gently weigh the chicken down.
- Chicken is safe to eat at 165°F. I like to pull it from the pan when it’s a few degrees below that, since the residual heat during resting usually carries it the rest of the way and keeps the meat juicier.
Tried this recipe?
Let us know how it was!Haha, oh no! Def can adjust the spice level to taste (or try a less spicy chili crisp). Not sure…
It’s really nice and soft! I like Tonnino brand.
This was delicious BUT not only was it incredibly spicy( I had tears) but took about a sinkful of dishes…
I have never tried tuna ventresca. May I ask what brand you buy/recommend? I want to make this salad, but…
This was SO GOOD! Prepped all the components on Sunday and assembled the salad fresh for lunch. Great WFH lunch…
Leave a Reply